Tips from a professional photographer for a successful before and after
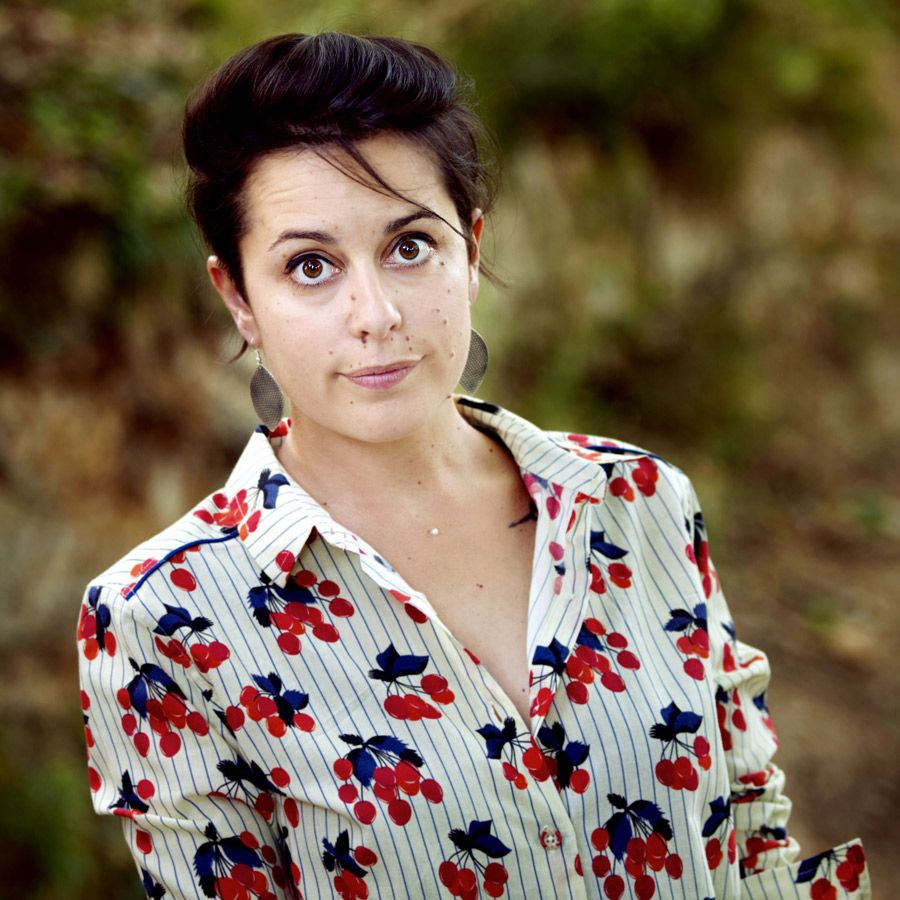
When a slimming or anti-aging treatment is completed, several weeks may have passed since the beginning of the treatment and the person being treated may have difficulty measuring the results obtained. This is a normal phenomenon: as improvements come with each session, the person gradually gets used to his or her new appearance, forgetting the old one as they go along. It is therefore very important to illustrate the effects of the treatments in concrete terms, and one of the most effective solutions consists of taking a picture of the treated area before the treatment begins and another at the end so that they can be compared. A solution that seems rather simple, but which is often difficult to implement when you are not an image professional. That's why we asked the photographer Sophie Gisclard who agreed to give us some precious advices to make a success of before and after pictures. Sophie Gisclard has been working as a photographer for many years between Toulouse and Marseille: she has notably done shootings for Corpoderm, offers shots to pregnant women and young parents, and regularly carries out personal and artistic projects.

Sophie, in your opinion, what can discredit a before/after photo montage?
For a before/after to be successful, it must be realistic. In concrete terms, this means that you must avoid cheating. You shouldn't have to retouch the pictures, no glossy filter, no artifice... It means that some parameters should be as strictly identical as possible. In short, you have to be very careful with the background, the lighting, the frame and of course with some physical details.
What type of background do you think should be favored?
The ideal is always to have a neutral background. For portraits, it is better to use white or light colors, and especially a plain background: no patterns, and avoid having too many knickknacks in the background.

And to highlight the results of a slimming treatment, do you also recommend the white background?
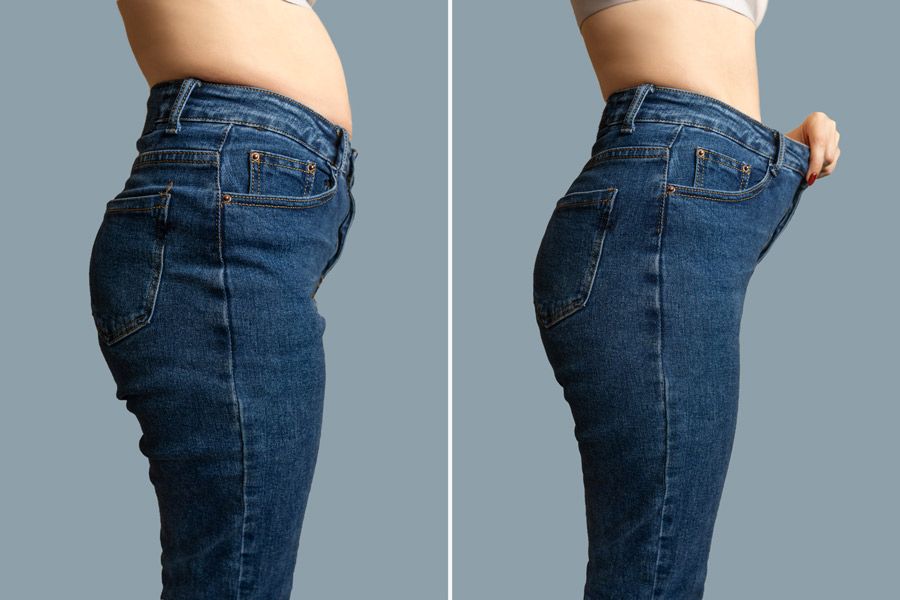
Frankly yes! Some people sometimes try to highlight the results by using a grid background, but it's quite tricky. For this to work, all the other elements (frame and light) must be perfectly matched. To get around this difficulty, don't hesitate to use devious means: for example, take a picture of the tape measure when measuring a waistline before and after the treatment, or use the good old technique of the clothing that has become too big. We ask the person to come back with the jeans he/she was wearing at the beginning of the treatment, and we take a picture of the thighs that float in it or of the waist that drops... The result will be less clinical, but ultimately more impactful.
And concerning the light, are there any tricks to better control it ?
Managing light can be very complicated when you're not in a studio, but there is indeed a trick: invest in a ringlight. It's the favorite accessory of bloggers and youtubers, a luminous halo that reproduces the daylight in a correct and especially very homogeneous way. If you always place it in the same place, that is to say either in front of the lens or in front of the person, you will have a sufficiently stable light rendering from one shot to another. They are available at all prices, but it is not necessarily necessary to buy the top of the range: you can find very good ringlights for about 50 euros.
If I have followed correctly, it is very important to place this light in the same place?
Yes, the location of the light is important: it's a question linked to that of the frame. As I said at the beginning, it is really important that the frames of the before and after pictures are exactly the same. You have to place the light, but also the camera, in the same place. The best is to have a stand on which to put the camera (or the phone). It allows to always position the camera at the same height, at the same distance from the light, and of course at the same distance from the subject. Ideally, you should have a space reserved for shooting and leave the equipment in place. If this is not possible, think of marking the ground to be able to put the equipment in place properly and quickly.
How to manage your frame ?
It is important to be regular on the framing of the before/after images. For portraits, remember to detach the subject from the background by at least one or two meters to avoid having a shadow that is too pronounced in the background.
Also make sure the camera is not too close to the subject to avoid distortion of the face or body. As for the light, don't hesitate to take note of all the information concerning the installation of the workstation as well as to review the first images so that you can reproduce them identically at the second shooting.
Are there any other points to watch out for besides the background, the frame and the light?
The frame, the background and the light are really the essential elements to watch out for, but if you're doing a photo portrait you also have to take into account the physical details. The hairstyle is particularly important: a change of haircut or color can radically change a physique and make a before/after look very unlikely. The color of the clothes also plays an important role: you should at least try to have equivalent tones and in any case avoid big contrasts. Remember to look at and show your client the initial photo before setting up your last appointment so that he/she can try to dress and do his/her hair in a similar way. If you follow all of these guidelines, your before and after should be interesting. If you want to make it even more striking, it is possible to add text on the image to enhance the important information. Be careful not to put too much, one or two essential information and not more! And why not integrate your logo for an even more professional look?
Indeed, it is a good idea to personalize the image according to your visual identity. Thank you very much Sophie for these precious advices !

 English (United States)
  Español (Estados Unidos)